

How to measure blood pressure correctly?
Do not smoke or take caffeine 30 minutes before measuring blood pressure (BP); have a rest for 5 minutes. It must be warm and quiet in the room.
• Relax the arm chosen for BP measurement must be relaxed and freed from clothing. The arm should be free of arteriovenous fistulas for dialysis, scars from incisions of the brachial artery, lymphedema, which may result from removal of the axillary group of lymph nodes or radiation therapy. If you haven’t felt the radial artery pulse yet, do so to make sure it hasn’t changing.
• Place your arm so that the brachial artery (in the elbow) is at the level of the heart (the fourth intercostal space at the edge of the sternum).
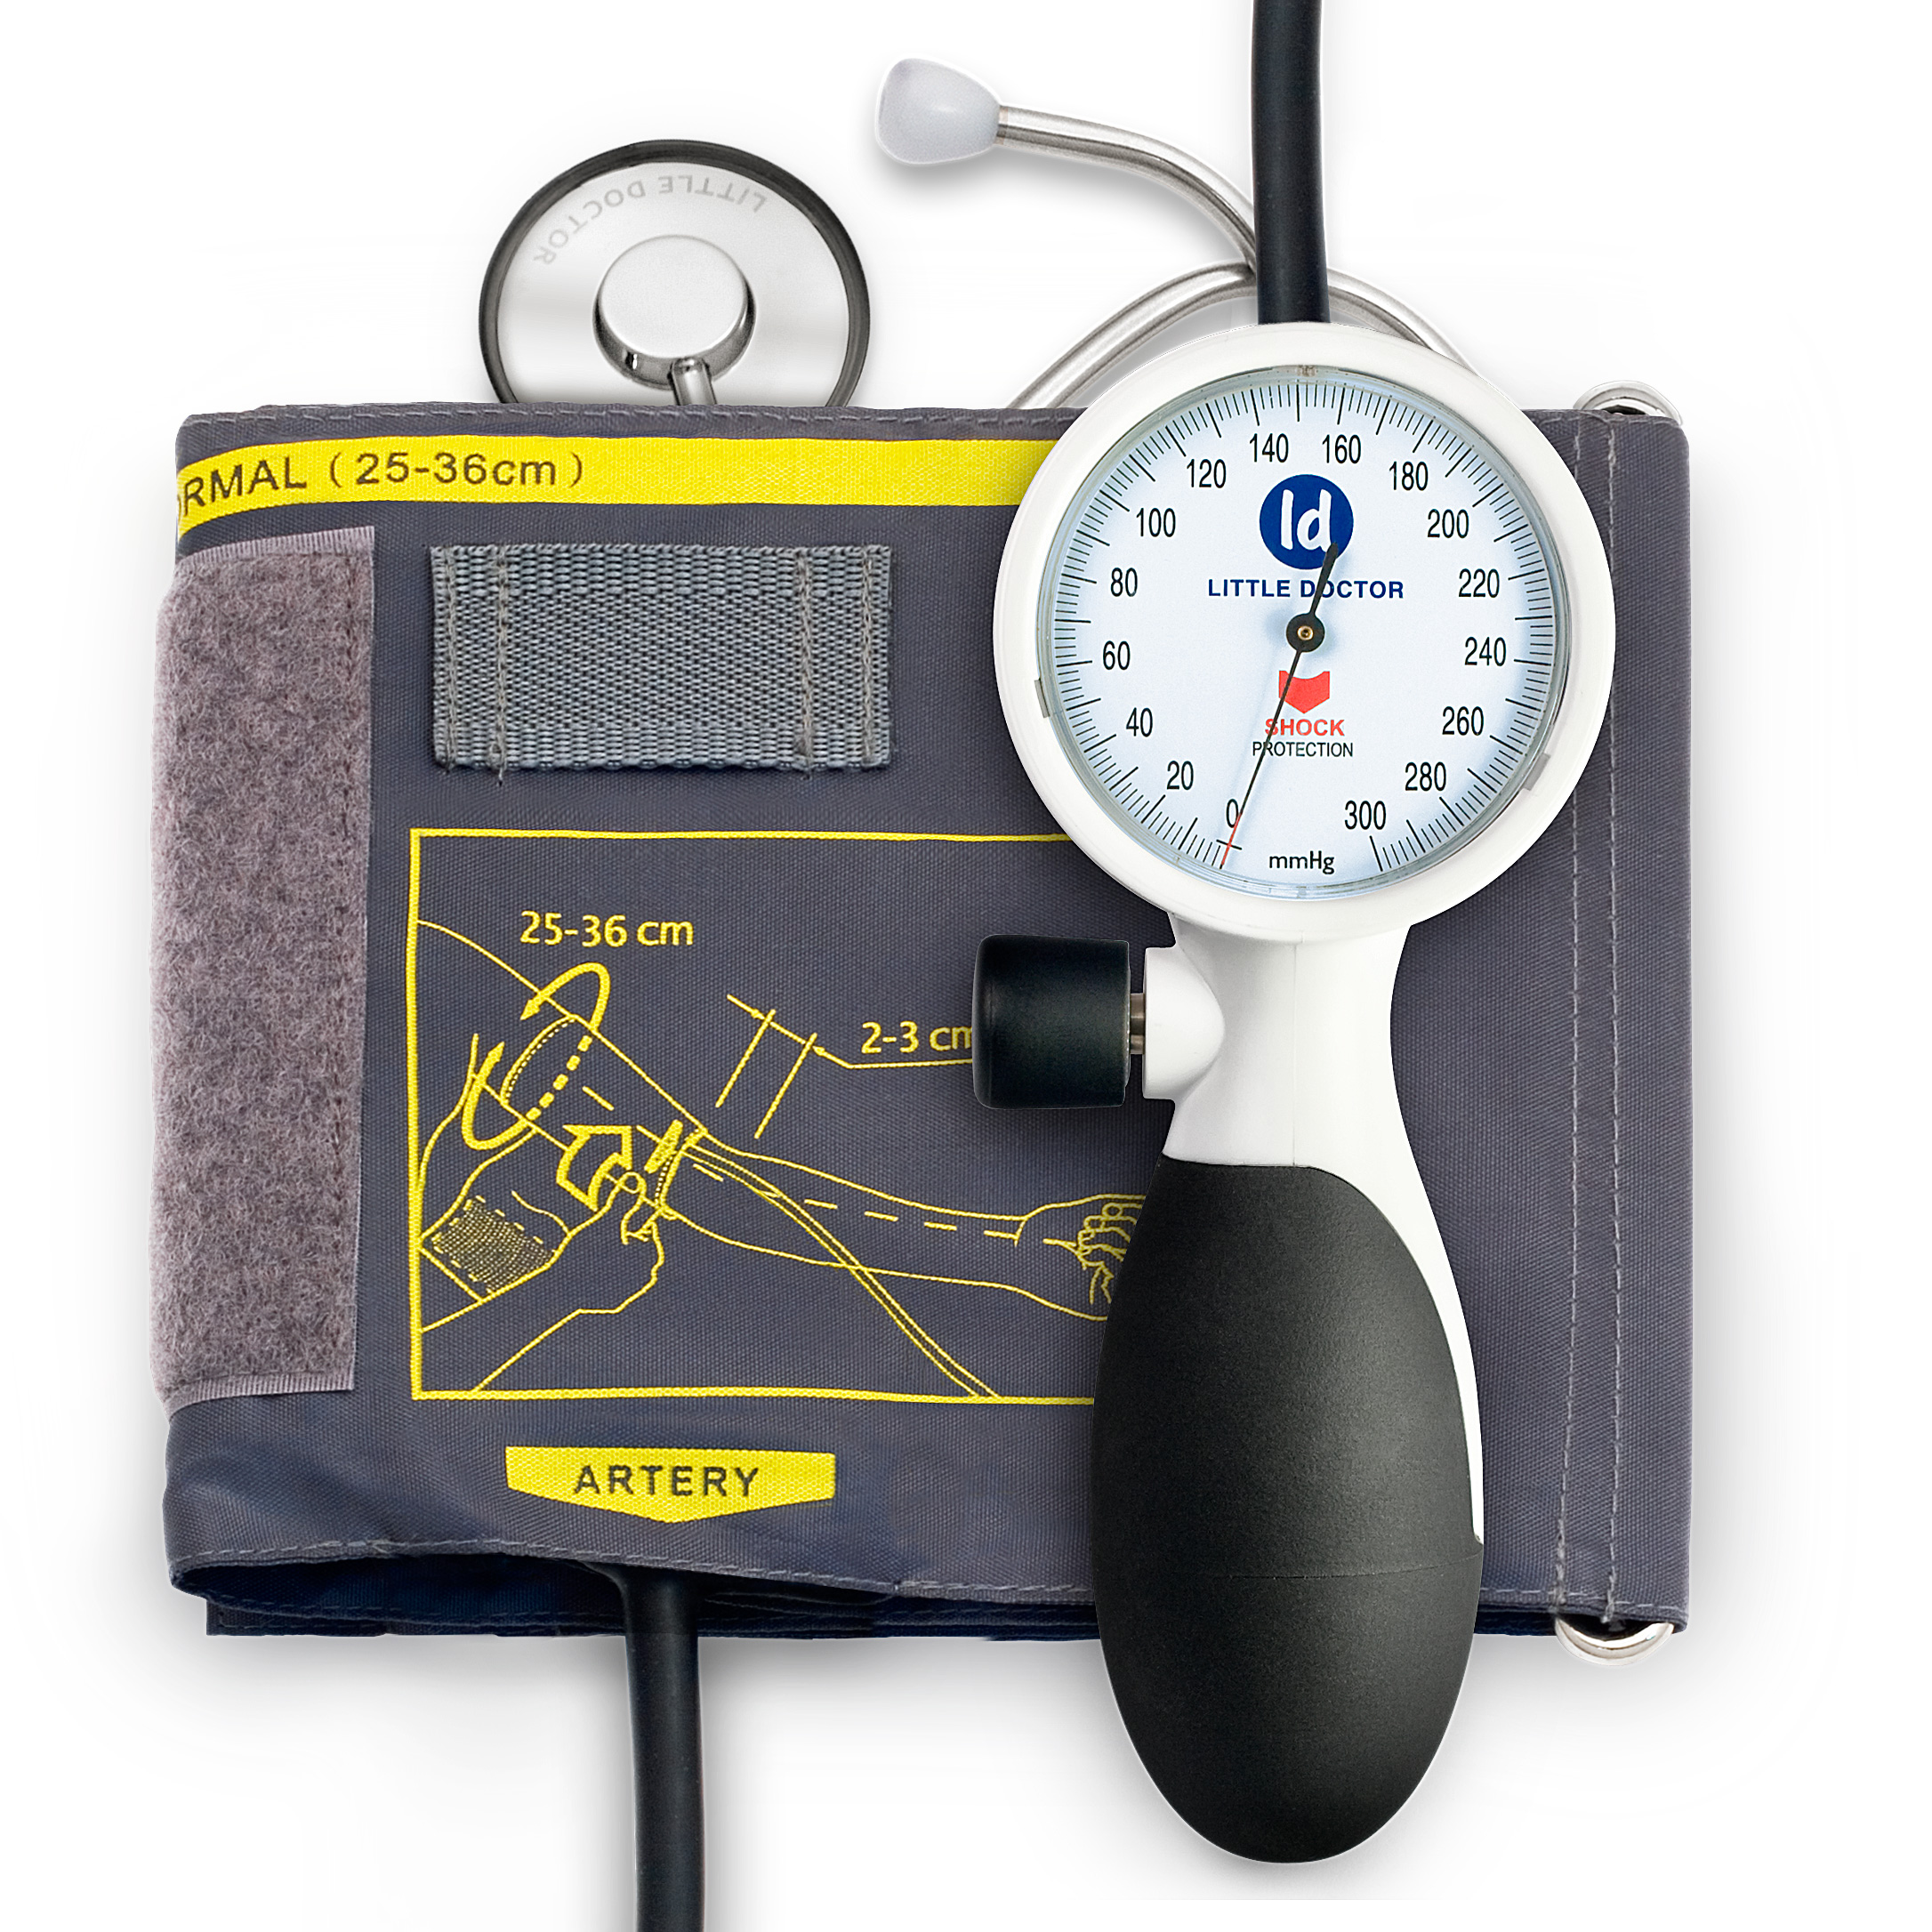
• Place the cuff chamber above the brachial artery. The lower part of the cuff must be 2.5 cm above the elbow. Secure the cuff so that it fits tightly around your arm. Slightly bend the arm in the elbow joint.
• To determine how high the cuff pressure should be raised, first measure systolic blood pressure. While controlling the radial artery pulse with one finger, quickly inflate the cuff until the radial artery pulse disappears. Memorize the readings of the manometer and add 30 mm Hg. This method is used so that too high pressure in the cuff does not cause discomfort in the patient when it is further inflated. It also avoids the error caused by the appearance of the auscultatory gap – the silent interval between systolic and diastolic blood pressure.
• Quickly release all the air from the cuff and wait for 15–30 seconds.
• Place stethoscope above the brachial artery. Quickly inflate the cuff to the level determined earlier and then slowly release the air (about 2–3 mm Hg per second).
• Record the level at which you’ve heard the sound of at least two consecutive contractions. This value complies with systolic blood pressure. Continue to lower the cuff pressure until the sound does not disappear. To make sure that the sounds actually disappeared, keep listening until the pressure drops another 10–20 mm Hg.
• Then quickly release all air from the cuff so that pressure in it decreases to zero. The level when tones disappear, which is only a few mm Hg below the point of damping, indicates the most accurate value of diastolic blood pressure in adults. For some people, the muting point and the disappearing point are quite far apart.
If the difference is more than 10 mm Hg, record both values (for example, 150/80/68 mm Hg). Round systolic and diastolic pressure values within 2 mm Hg.
• Wait for 2 minutes and repeat. Calculate the average blood pressure reading. If the first two measurement results differ by more than 5 mm Hg, repeat the measurement.
• Try not to inflate the cuff with slow, repetitive movements, as the resulting venous congestion can cause inaccurate readings.
• Relax the arm chosen for BP measurement must be relaxed and freed from clothing. The arm should be free of arteriovenous fistulas for dialysis, scars from incisions of the brachial artery, lymphedema, which may result from removal of the axillary group of lymph nodes or radiation therapy. If you haven’t felt the radial artery pulse yet, do so to make sure it hasn’t changing.
• Place your arm so that the brachial artery (in the elbow) is at the level of the heart (the fourth intercostal space at the edge of the sternum).
• Place the cuff chamber above the brachial artery. The lower part of the cuff must be 2.5 cm above the elbow. Secure the cuff so that it fits tightly around your arm. Slightly bend the arm in the elbow joint.
• To determine how high the cuff pressure should be raised, first measure systolic blood pressure. While controlling the radial artery pulse with one finger, quickly inflate the cuff until the radial artery pulse disappears. Memorize the readings of the manometer and add 30 mm Hg. This method is used so that too high pressure in the cuff does not cause discomfort in the patient when it is further inflated. It also avoids the error caused by the appearance of the auscultatory gap – the silent interval between systolic and diastolic blood pressure.
• Quickly release all the air from the cuff and wait for 15–30 seconds.
• Place stethoscope above the brachial artery. Quickly inflate the cuff to the level determined earlier and then slowly release the air (about 2–3 mm Hg per second).
• Record the level at which you’ve heard the sound of at least two consecutive contractions. This value complies with systolic blood pressure. Continue to lower the cuff pressure until the sound does not disappear. To make sure that the sounds actually disappeared, keep listening until the pressure drops another 10–20 mm Hg.
• Then quickly release all air from the cuff so that pressure in it decreases to zero. The level when tones disappear, which is only a few mm Hg below the point of damping, indicates the most accurate value of diastolic blood pressure in adults. For some people, the muting point and the disappearing point are quite far apart.
If the difference is more than 10 mm Hg, record both values (for example, 150/80/68 mm Hg). Round systolic and diastolic pressure values within 2 mm Hg.
• Wait for 2 minutes and repeat. Calculate the average blood pressure reading. If the first two measurement results differ by more than 5 mm Hg, repeat the measurement.
• Try not to inflate the cuff with slow, repetitive movements, as the resulting venous congestion can cause inaccurate readings.
What should be considered when buying a device?
• If you plan to use the tonometer at home, then it would be more expedient to purchase models for home use (for example, LD-71).
A distinctive feature of this model is a phonendoscope and a fixing metal ring for the cuff, which allows the cuff to be put on without assistance.
• The device is supplied with a cuff for the average body size adult. If your arm circumference is different from this (average) size, you will need to buy an additional cuff of the required size. You will also need an additional cuff for measuring blood pressure in children.
• The presence of a cuff with a metal fixing ring allows you to take measurements without assistance.
• The cuffs made of thermopolyurethane (TPU) are more durable and easier to handle.
How to choose the right cuff?
To choose the right cuff for your device, you need to consider the following:
• To receive accurate measurement results, the cuff pneumatic chamber’s length must take up at least 80% of the circumference of the body part used for measurement. The cuff width should take up to about 40% of the arm circumference (average 12–14 cm). To facilitate the cuff size selection, the manufacturer usually indicates the arm circumference corresponding to a particular cuff on the packaging.
• for personal (at home) use of blood pressure monitor it is more convenient to use a cuff with a fixing metal ring. The fixing ring allows the cuff to be fitted correctly and without assistance. To increase durability, the ring must be welded at the junction point.
• The seamless version of the cuff is much more durable.
What does the presence of a needle valve affect?
The needle valve (for example, in LD-70, LD-71 devices) in the pressure release mechanism allows you to set the rate of air release from the cuff more smoothly and accurately. This feature significantly affects the measurement accuracy and ease of use.